
Before we go on with this fourth version of the Hello World application, let us summarize what we've seen so far.
- The first Hello World #1 example was not detailed because c'mon...
- The second Hello World #2 example was edited and built with no IDE, using the sole Rust toolchain command line interface (CLI) and a single minimalist
main.rssource file. The purpose of that tutorial was to make the point that actually no IDE is absolutely necessary to write, build and flash programs into the MCU device. Yet, although possible with no IDE, I didn't dare to address detailed debugging here. - The third Hello World #3 example was actually a simple clone of the previous project, built and debugged within VSCode. This example has been used for a walkthrough in the full-featured IDE debugger.
So what's coming next? In this fourth and last Hello World #4 example, let us create from scratch a minimal project that include everything we actually need to start programming STM32 devices, with no Hardware Abstraction Layer yet with some additional headers and initialization functions that are quite welcome.
With minor adaptations, you may consider this tutorial as a reference for starting new projects with any STM32 devices.
1. Create a new Project
Unfortunately, at the time of writing (April 2022), none of the major Rust Language Servers (Rust or rust-analyzer) proposes a graphical way to initialize a Rust project. But this won't stop us!
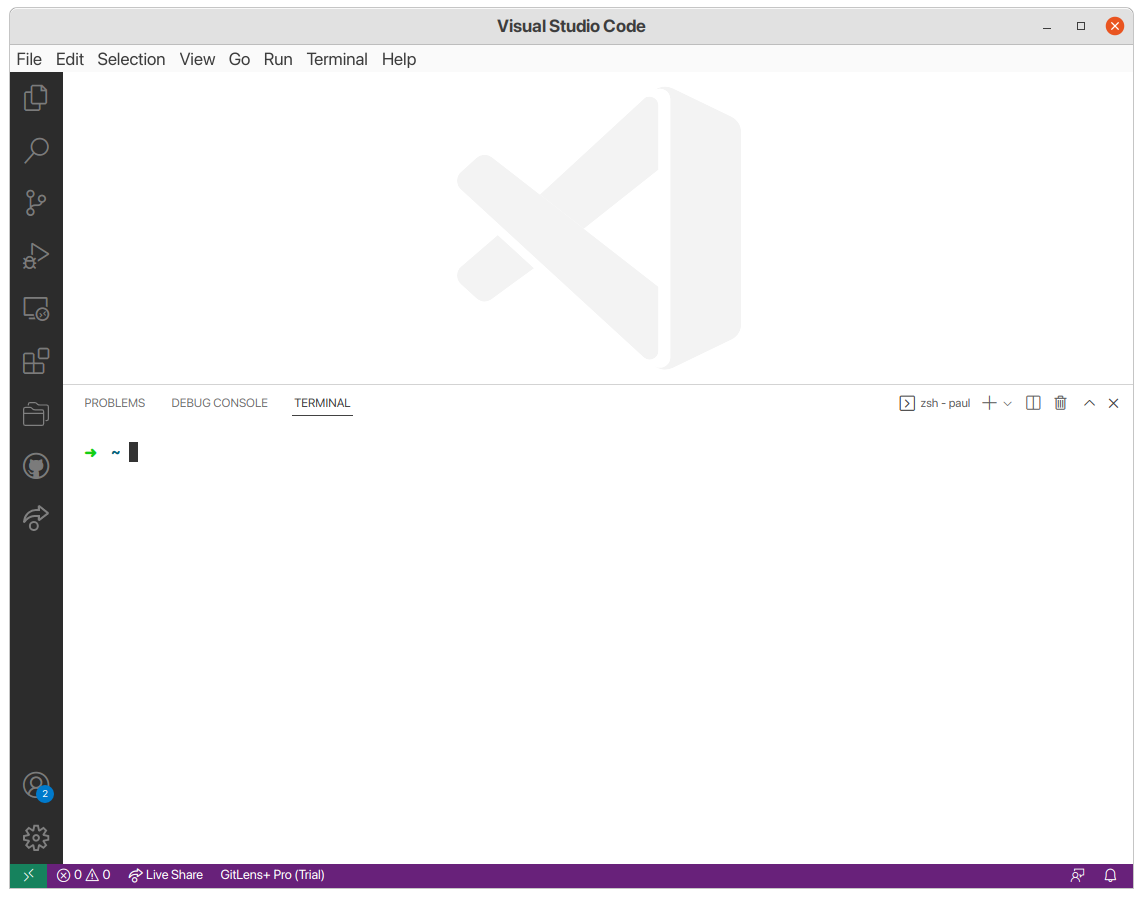
Open a terminal in VSCode (Ctrl + Shift + ² or Terminal -> New Terminal ):
Choose the parent folder which will contain your project folder and go to its path using cd. Run the cargo init {projectName} command (replacing {projectName} by the name of your project).
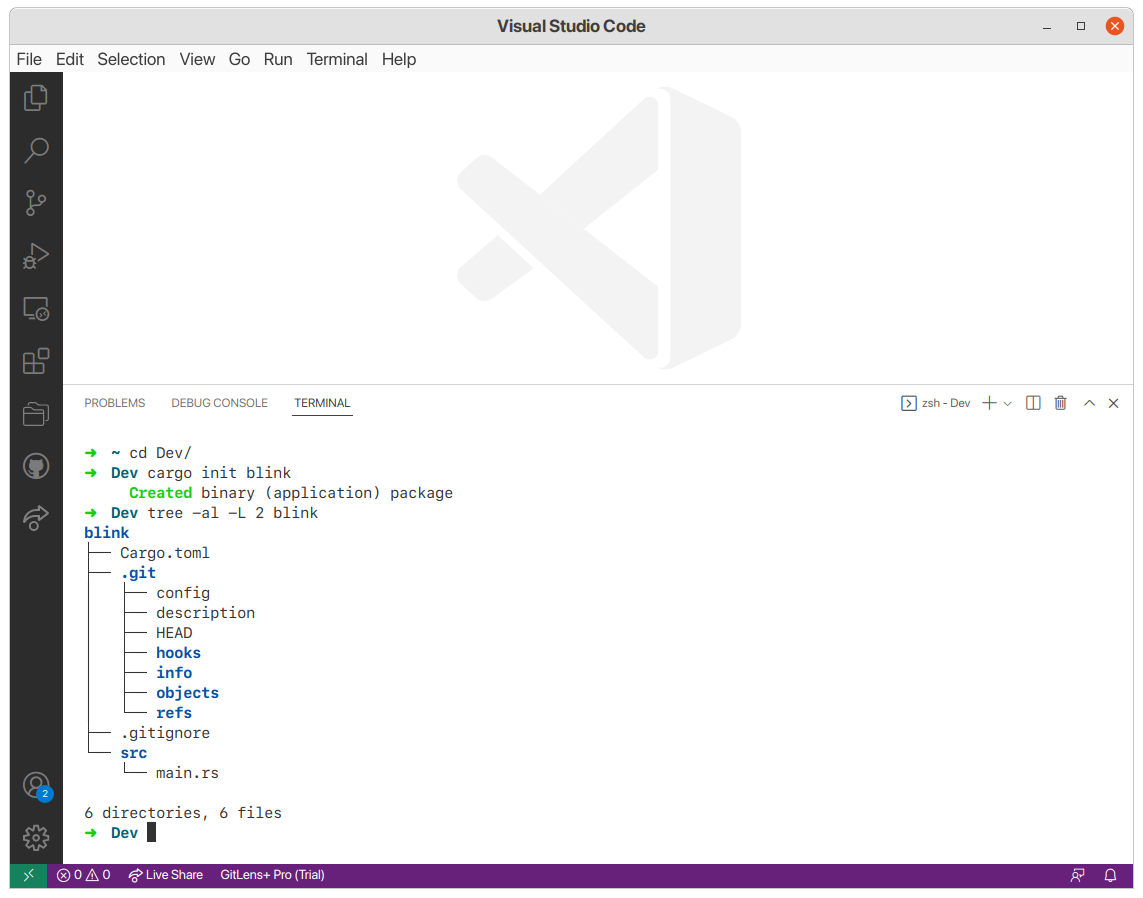
The Cargo.toml and src/main.rs files were created along with the necessary Git files/folder.
Open the project's folder in VSCode (using File -> Open Folder... or using the code {projectName} command).
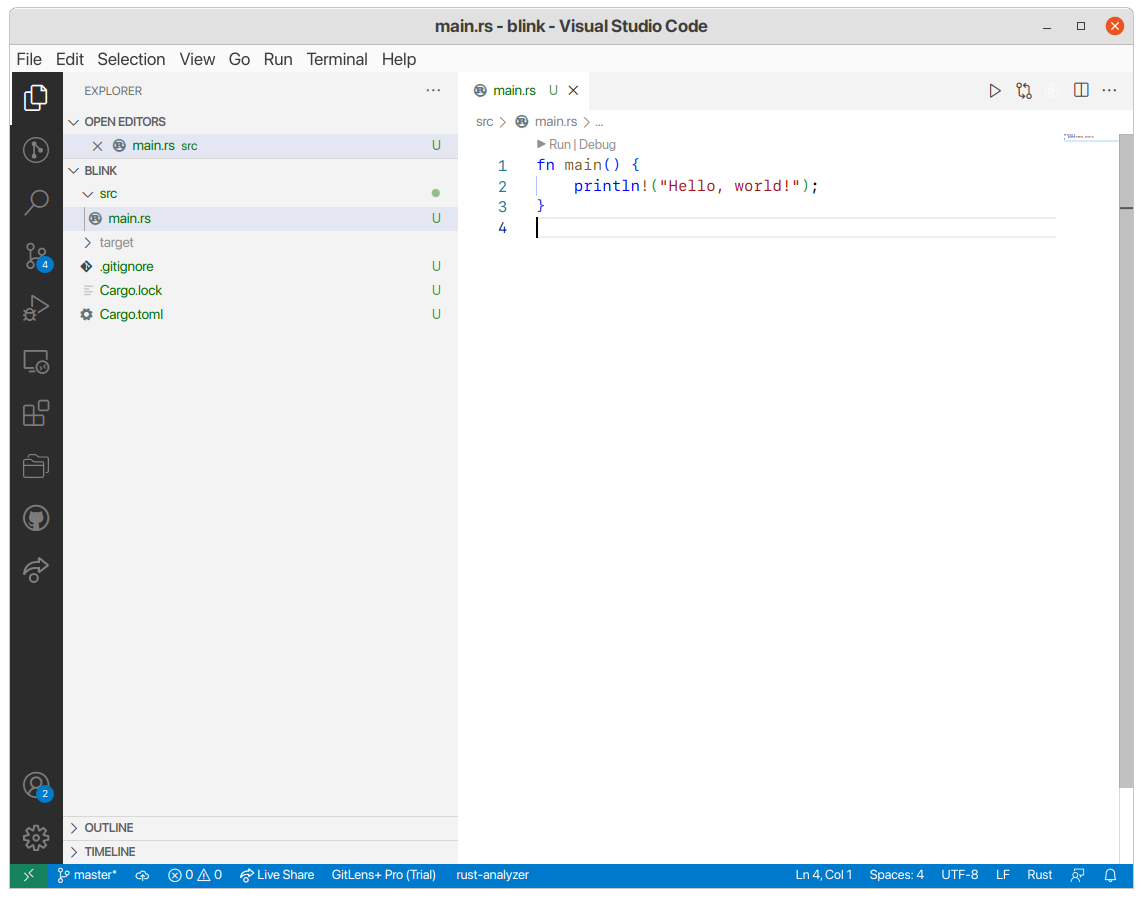
We just created a new project and opened it in our IDE, now let's prepare the files.
2. Prepare the project file structure
2.1. Manifest (Cargo.toml)
Add the necessary dependencies in your Cargo.toml file:
[package]
name = "blink"
version = "0.1.0"
edition = "2021"

# See more keys and their definitions at https://doc.rust-lang.org/cargo/reference/manifest.html

[dependencies]
cortex-m-rt = "0.7.1"
panic-halt = "0.2.0"
cortex-m-semihosting = "0.3.3"
stm32f0 = {version = "0.14.0", features = ["stm32f0x2", "rt"]} # Depends on your target

[[bin]]
name = "blink"
test = false
bench = false
2.2. Linker script (memory.x)
Create the linker script for your board (memory.x file):
/* Linker script for the STM32F072RB-Nucleo */
MEMORY
{
  FLASH (rx)     : ORIGIN = 0x08000000, LENGTH = 128K
  RAM (xrw)      : ORIGIN = 0x20000000, LENGTH = 16K
}
I will admit that this part starts to be a bit tricky to do every time you want to create a project and even more tricky when you want to switch boards... But memory sections addresses are pretty well documented in ST's reference manuals and you only need to specify FLASH and RAM for basic projects.
2.3. Cargo configuration (.cargo/config.toml)
Create the .cargo/config.toml file, copy the following content and select your target by uncommenting the corresponding line from the [build] section:
[target.'cfg(all(target_arch = "arm", target_os = "none"))']
runner = "gdb-multiarch -q -x openocd.gdb"

rustflags = [
  # This is needed if your flash or ram addresses are not aligned to 0x10000 in memory.x
  # See https://github.com/rust-embedded/cortex-m-quickstart/pull/95
  "-C", "link-arg=--nmagic",

  # LLD (shipped with the Rust toolchain) is used as the default linker
  "-C", "link-arg=-Tlink.x",

  # if you run into problems with LLD switch to the GNU linker by commenting out
  # this line
  # "-C", "linker=arm-none-eabi-ld",

  # if you need to link to pre-compiled C libraries provided by a C toolchain
  # use GCC as the linker by commenting out both lines above and then
  # uncommenting the three lines below
  # "-C", "linker=arm-none-eabi-gcc",
  # "-C", "link-arg=-Wl,-Tlink.x",
  # "-C", "link-arg=-nostartfiles",
]

[build]
# Pick ONE of these compilation targets
target = "thumbv6m-none-eabi"    # Cortex-M0 and Cortex-M0+
# target = "thumbv7m-none-eabi"    # Cortex-M3
# target = "thumbv7em-none-eabi"   # Cortex-M4 and Cortex-M7 (no FPU)
# target = "thumbv7em-none-eabihf" # Cortex-M4F and Cortex-M7F (with FPU)
2.4. IDE & Debugger configuration (.vscode/*)
Create a .vscode/ folder and add the following files:
-
SVD File: Which you can find on ST's website or using this useful repo. In my case, the file is
STM32F0x2.svd. -
.vscode/launch.json(don't forget to change thegdbTarget,svdFileandconfigFilesto the corresponding names):{ "version": "0.2.0", "configurations": [ { "type": "cortex-debug", "request": "launch", "name": "Debug with OpenOCD", "servertype": "openocd", "cwd": "${workspaceRoot}", "runToEntryPoint": "main", "executable": "${workspaceFolder}/target/thumbv6m-none-eabi/debug/${workspaceFolderBasename}", "configFiles": [ "interface/stlink-v2-1.cfg", "target/stm32f0x.cfg" ], "gdbPath": "gdb-multiarch", "gdbTarget": "thumbv6m-none-eabi", "postLaunchCommands": [ "monitor arm semihosting enable", ], "preLaunchTask": "build", "svdFile": ".vscode/STM32F0x2.svd", }, ] } -
.vscode/tasks.json:{ "version": "2.0.0", "tasks": [ { "type": "cargo", "command": "build", "problemMatcher": [ "$rustc" ], "group": "build", "label": "build" } ] }
2.5. (Optional) Command line debug facilities (openocd.cfg & openocd.gdb)
Optionnally, you can add the openocd.cfg and openocd.gdb files in the main project folder if you ever want to debug the project using command lines:
-
openocd.cfg(don't forget to change thetarget/*******.cfgto the corresponding name):# Sample OpenOCD configuration for the STM32F072RB-Nucleo development board source [find interface/stlink-v2-1.cfg] source [find target/stm32f0x.cfg] -
openocd.gdb(to avoid having to do the gdb commands each time you want to load a compiled project to the target):target remote :3333 load monitor arm semihosting enable break main continue
2.6. (Optional) .gitignore configuration (.gitignore)
If you intend to use Git, you can also fill in the .gitignore file with the names of the files you don't want/need to upload. For example:
/target
Cargo.lock
.vscode/.cortex-debug*
3. Application main file modification
3.1. Basic main file
As explained in Hello World #2, we need to modify the src/main.rs file to specify multiple execution details for bare metal programming. Let's change our basic src/main.rs file to include this configuration:
#![no_std]
#![no_main]

use panic_halt as _;
use stm32f0 as _;

use cortex_m_rt::entry;
use cortex_m_semihosting::hprintln;

#[entry]
fn main() -> ! {
    hprintln!("Hello, world!").unwrap();

    loop {}
}
This should be sufficient to be able to build your project...
3.2. (Optional) Blinking led program
However, we would like to have at least a [heartbeat](https://en.wikipedia.org/wiki/Heartbeat(computing)) program to see that our board is doing things... We will add a blinking led code which is the embedded version of the "Hello, world!" program._
Let's change our src/main.rs to the following:
#![no_std]
#![no_main]

use panic_halt as _;
use stm32f0 as _;

use cortex_m_rt::entry;
use stm32f0::stm32f0x2::Peripherals;

#[entry]
fn main() -> ! {
    // Get peripherals
    let peripherals = Peripherals::take().unwrap();
    let (rcc, gpioa) = (&peripherals.RCC, &peripherals.GPIOA);

    // Start GPIOA clock
    rcc.ahbenr.modify(|_, w| w.iopaen().enabled());

    // Configure PA5 as output
    gpioa.moder.modify(|_, w| w.moder5().output());

    loop {
        // LED toggle
        gpioa.odr.modify(|r, w| w.odr5().bit(!r.odr5().bit()));

        // Wait
        for _ in 0..100000 {}
    }
}
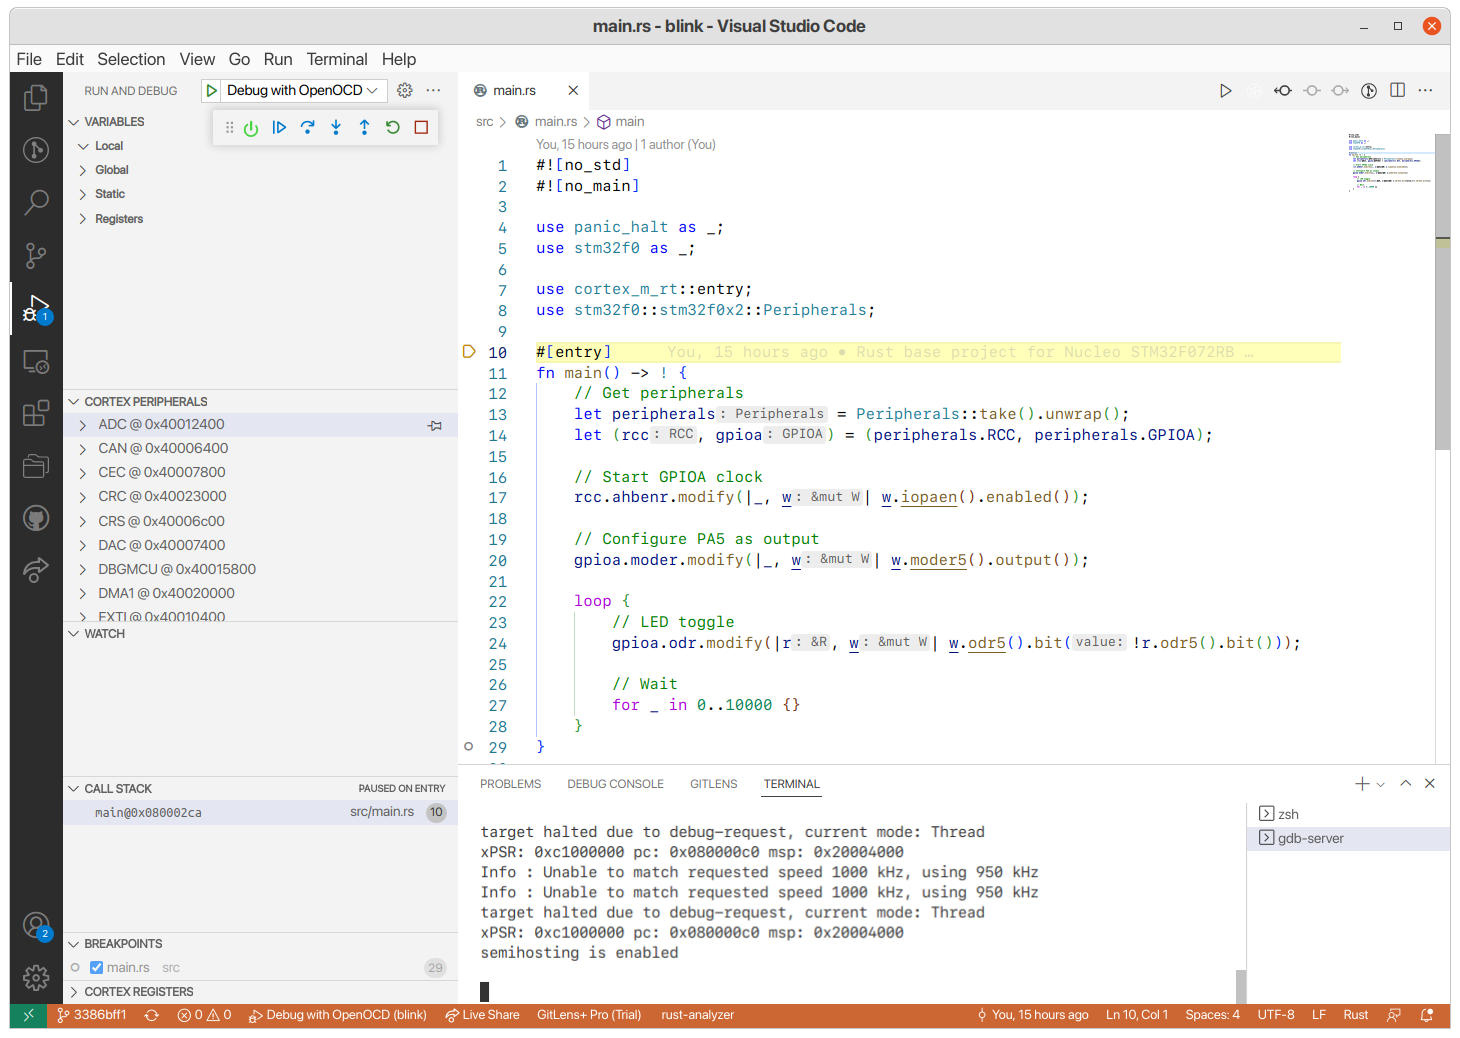
4. Build and debug
You can now start the debug and run the program ( ) to make sure the LED is blinking...
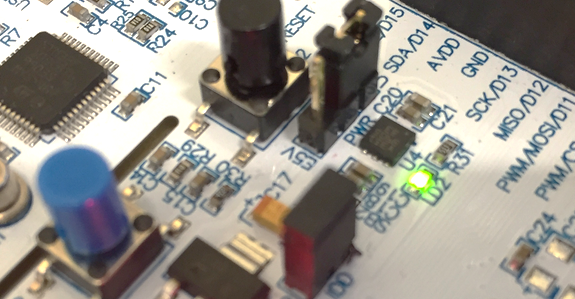
... then exit the debug session. Well done!